Tutorial: developing software with Alan
- Introduction
- Application for building applications
- Files and folders
- Compile and deploy
- Your published Application
- Next up
Introduction
Computer applications are tools designed for specific purposes, like tracking orders and supplies, or exchanging information among people. Every computer application revolves around gathering, manipulating, visualizing, and exchanging data. The Alan platform aims to enable development of guaranteed bug-free applications that are both flexible as well as easily maintainable: built to last.
Development process
The Alan platform offers a comprehensive solution for developing data-intensive software applications. Because of its flexibility, it heavily promotes agile application development, where each iteration yields a working part of the application you want. Rather then writing large design documents and drawing diagrams that tell us how the application should work, with Alan you can immediately start building your app.
For an Alan app, you first specify the core structure of the data that our application will process. You can immediately verify the validity of it by running our application. Users can enter actual data to verify that the structure matches the requirements for this first part. Once the data structure conforms to our requirements, you can incrementally implement usage scenarios and let the stakeholders test them. Alternatively, you can start working on data transformation, custom visualizations, user permissions, or data exchange with other applications.
Environment overview
An Alan environment consists of a specific file and folder structure, and a set of languages (that have a common meta-language) and corresponding tools, including a compiler (‘translator’ and ‘validator’ of your code). Together, the different files describe a complete software system. Each file has a specific function in creating, updating or deploying your software. You enter your code in the designated files at design time to develop your system. To convert these files into a usable software system that runs on a server, all files and folders need to be checked for errors and translated into a format that different parts of the Alan platform understand. You can deploy the result to a server, after which the software is ready for use: runtime.
In the remainder of this tutorial you’ll get familiar with the environment for creating Alan applications. For version control and local editing of Alan projects, read this guide.
Application for building applications
For developing Alan applications we typically use an Integrated Development Environment (IDE): an application that provides the developer with a file and folder overview, an editor that recognizes Alan code, and many other useful tools. In this tutorial we’ll use Visual Studio Code (VS Code) in a Chromium based browser, like Google Chrome or Microsoft Edge. Before continuing, open a separate tab and sign in to your existing online IDE account or
After signing in, you should be presented with a welcome page:
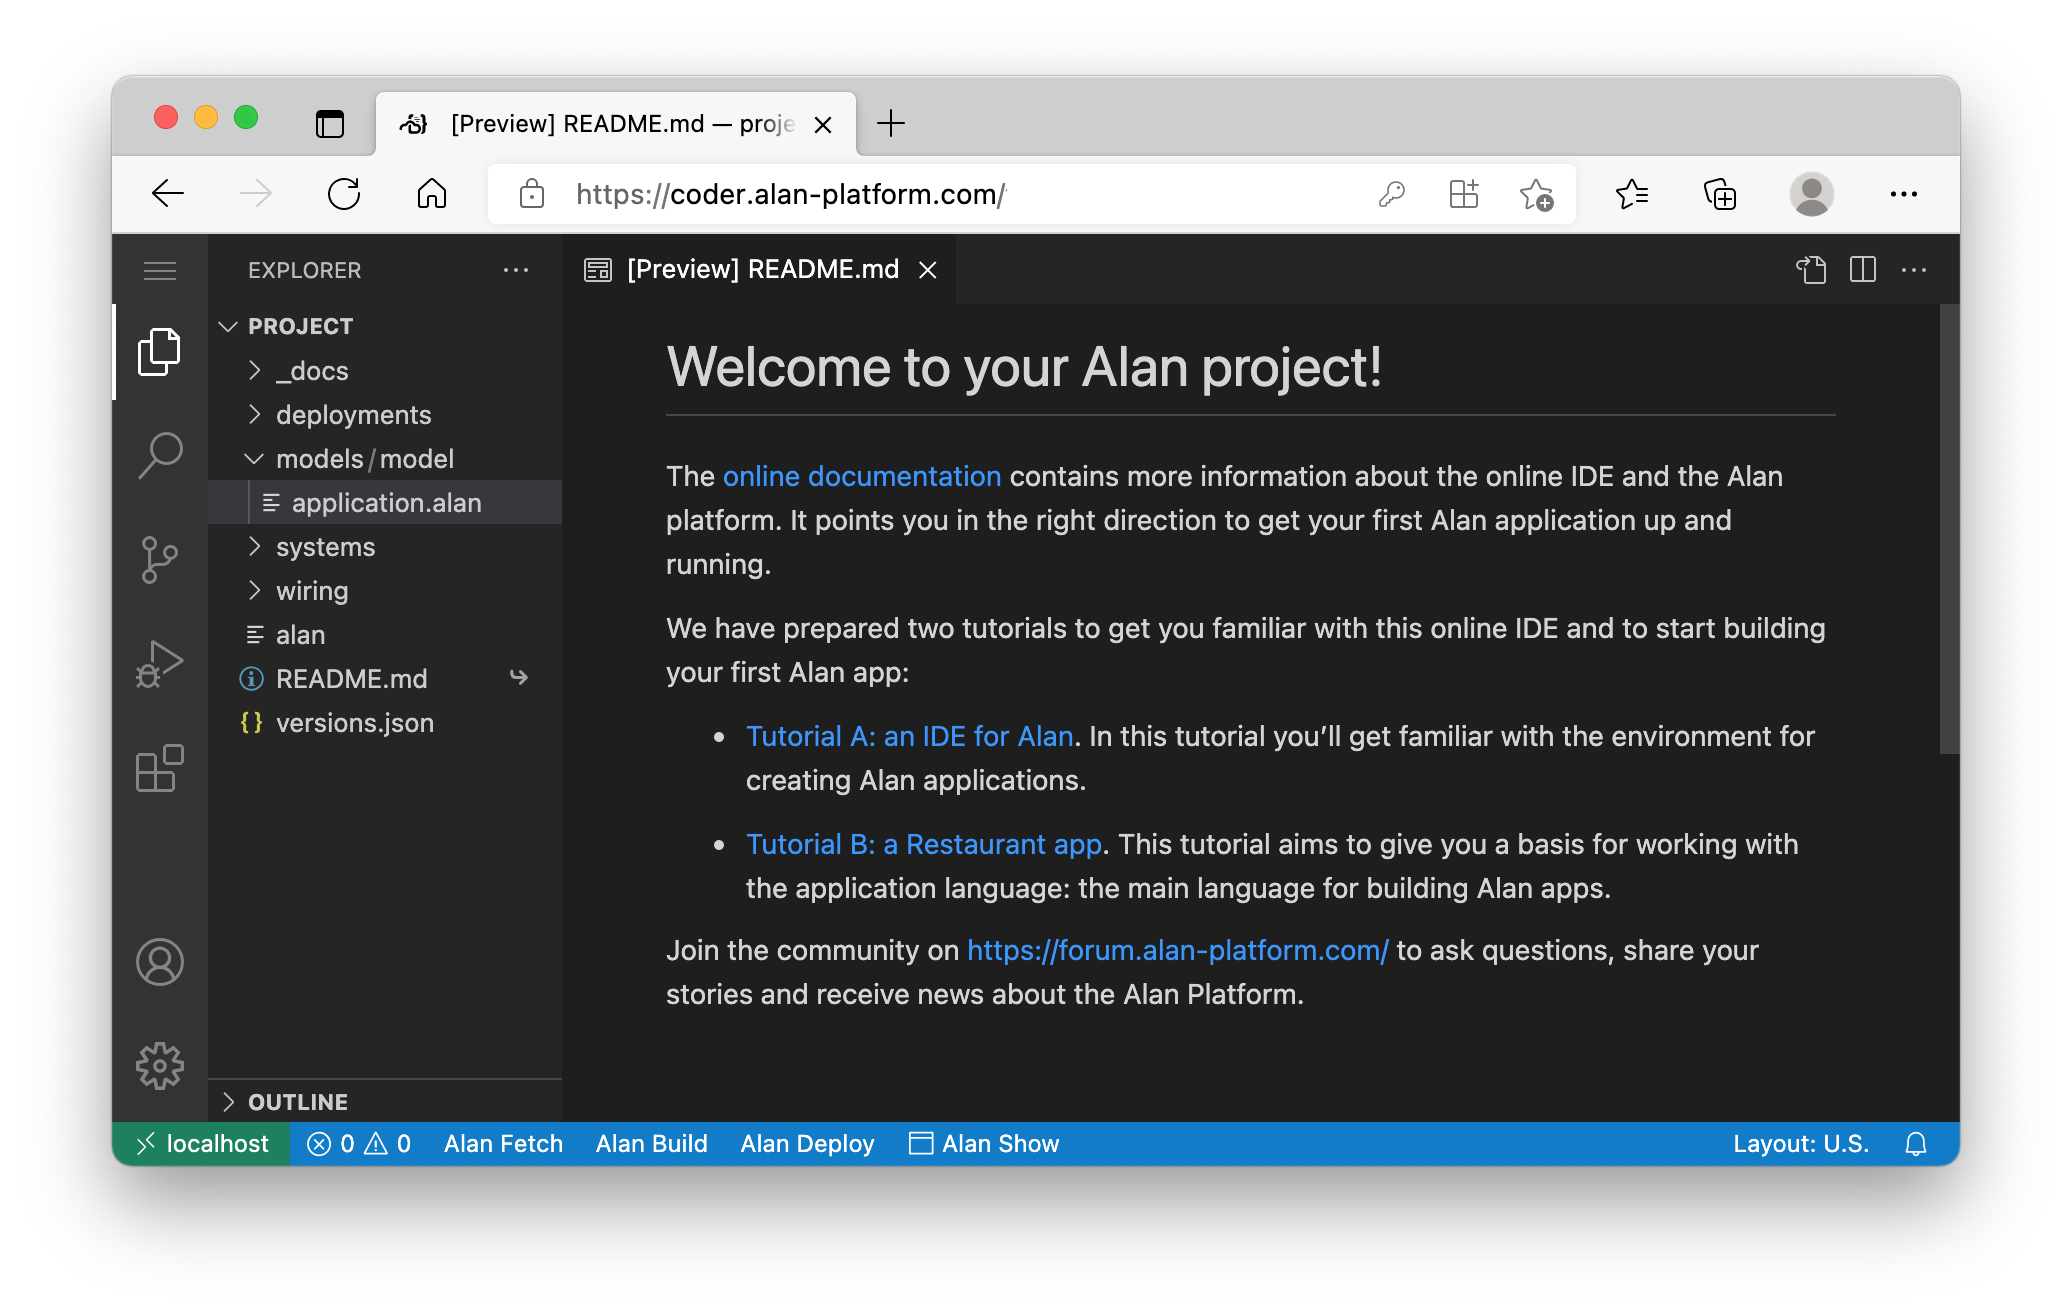
These are the main areas in the layout of the online IDE:
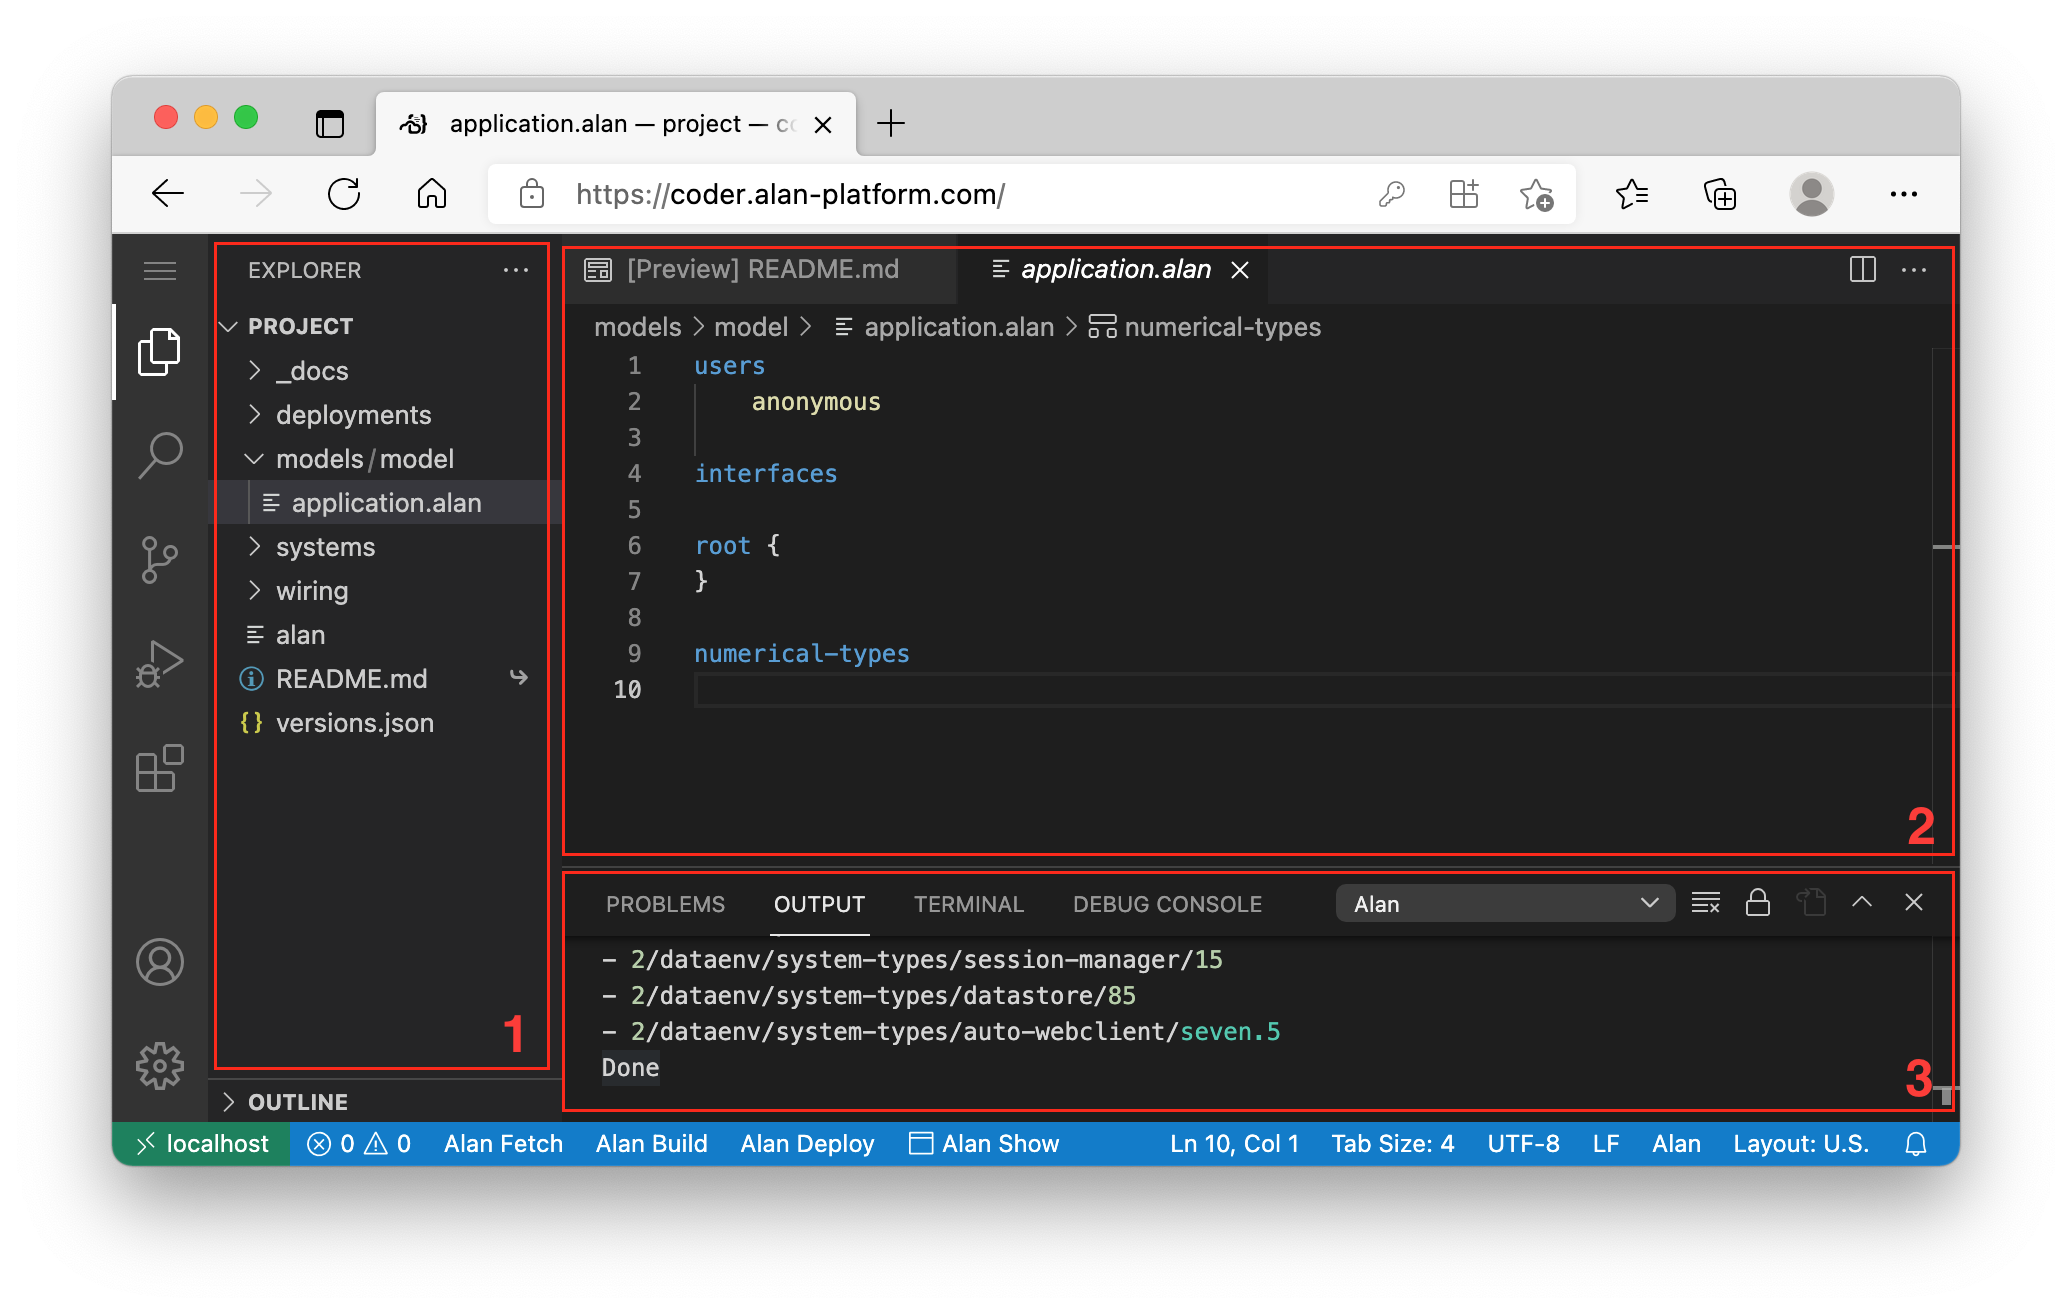
- Explorer: overview of files and folders in your project
- Editor: content of open file can be edited here (on startup you’ll see the
README.mdfile with additional info) - Problems/Output/Terminal (initially hidden; shown when executing a task):
- Problems shows a nice list of issues from the compiler (important when errors occur)
- Output shows the output of tasks that you execute
- Terminal is for executing command line instructions
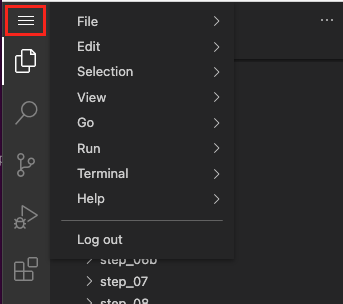
In the top left corner you’ll find these buttons:

They determine what you see in area 1. The top icon is for the Explorer and the only one you’ll need to get started.
At the bottom left side you’ll see these texts:

These are four buttons that execute important tasks:
Alan Fetchdownloads and updates the Alan platform toolsAlan Buildbuilds your projectAlan Deploydeploys your projectAlan Showopens an new browser tab with your application
Files and folders
You develop an Alan application by defining application models, defining interfaces, creating migrations, configuring settings, etc.
These activities make use of specific files within specific folders.
This structure of files and folders is required in order to compile an application.
The following files and folders are important while working on the application language tutorial:
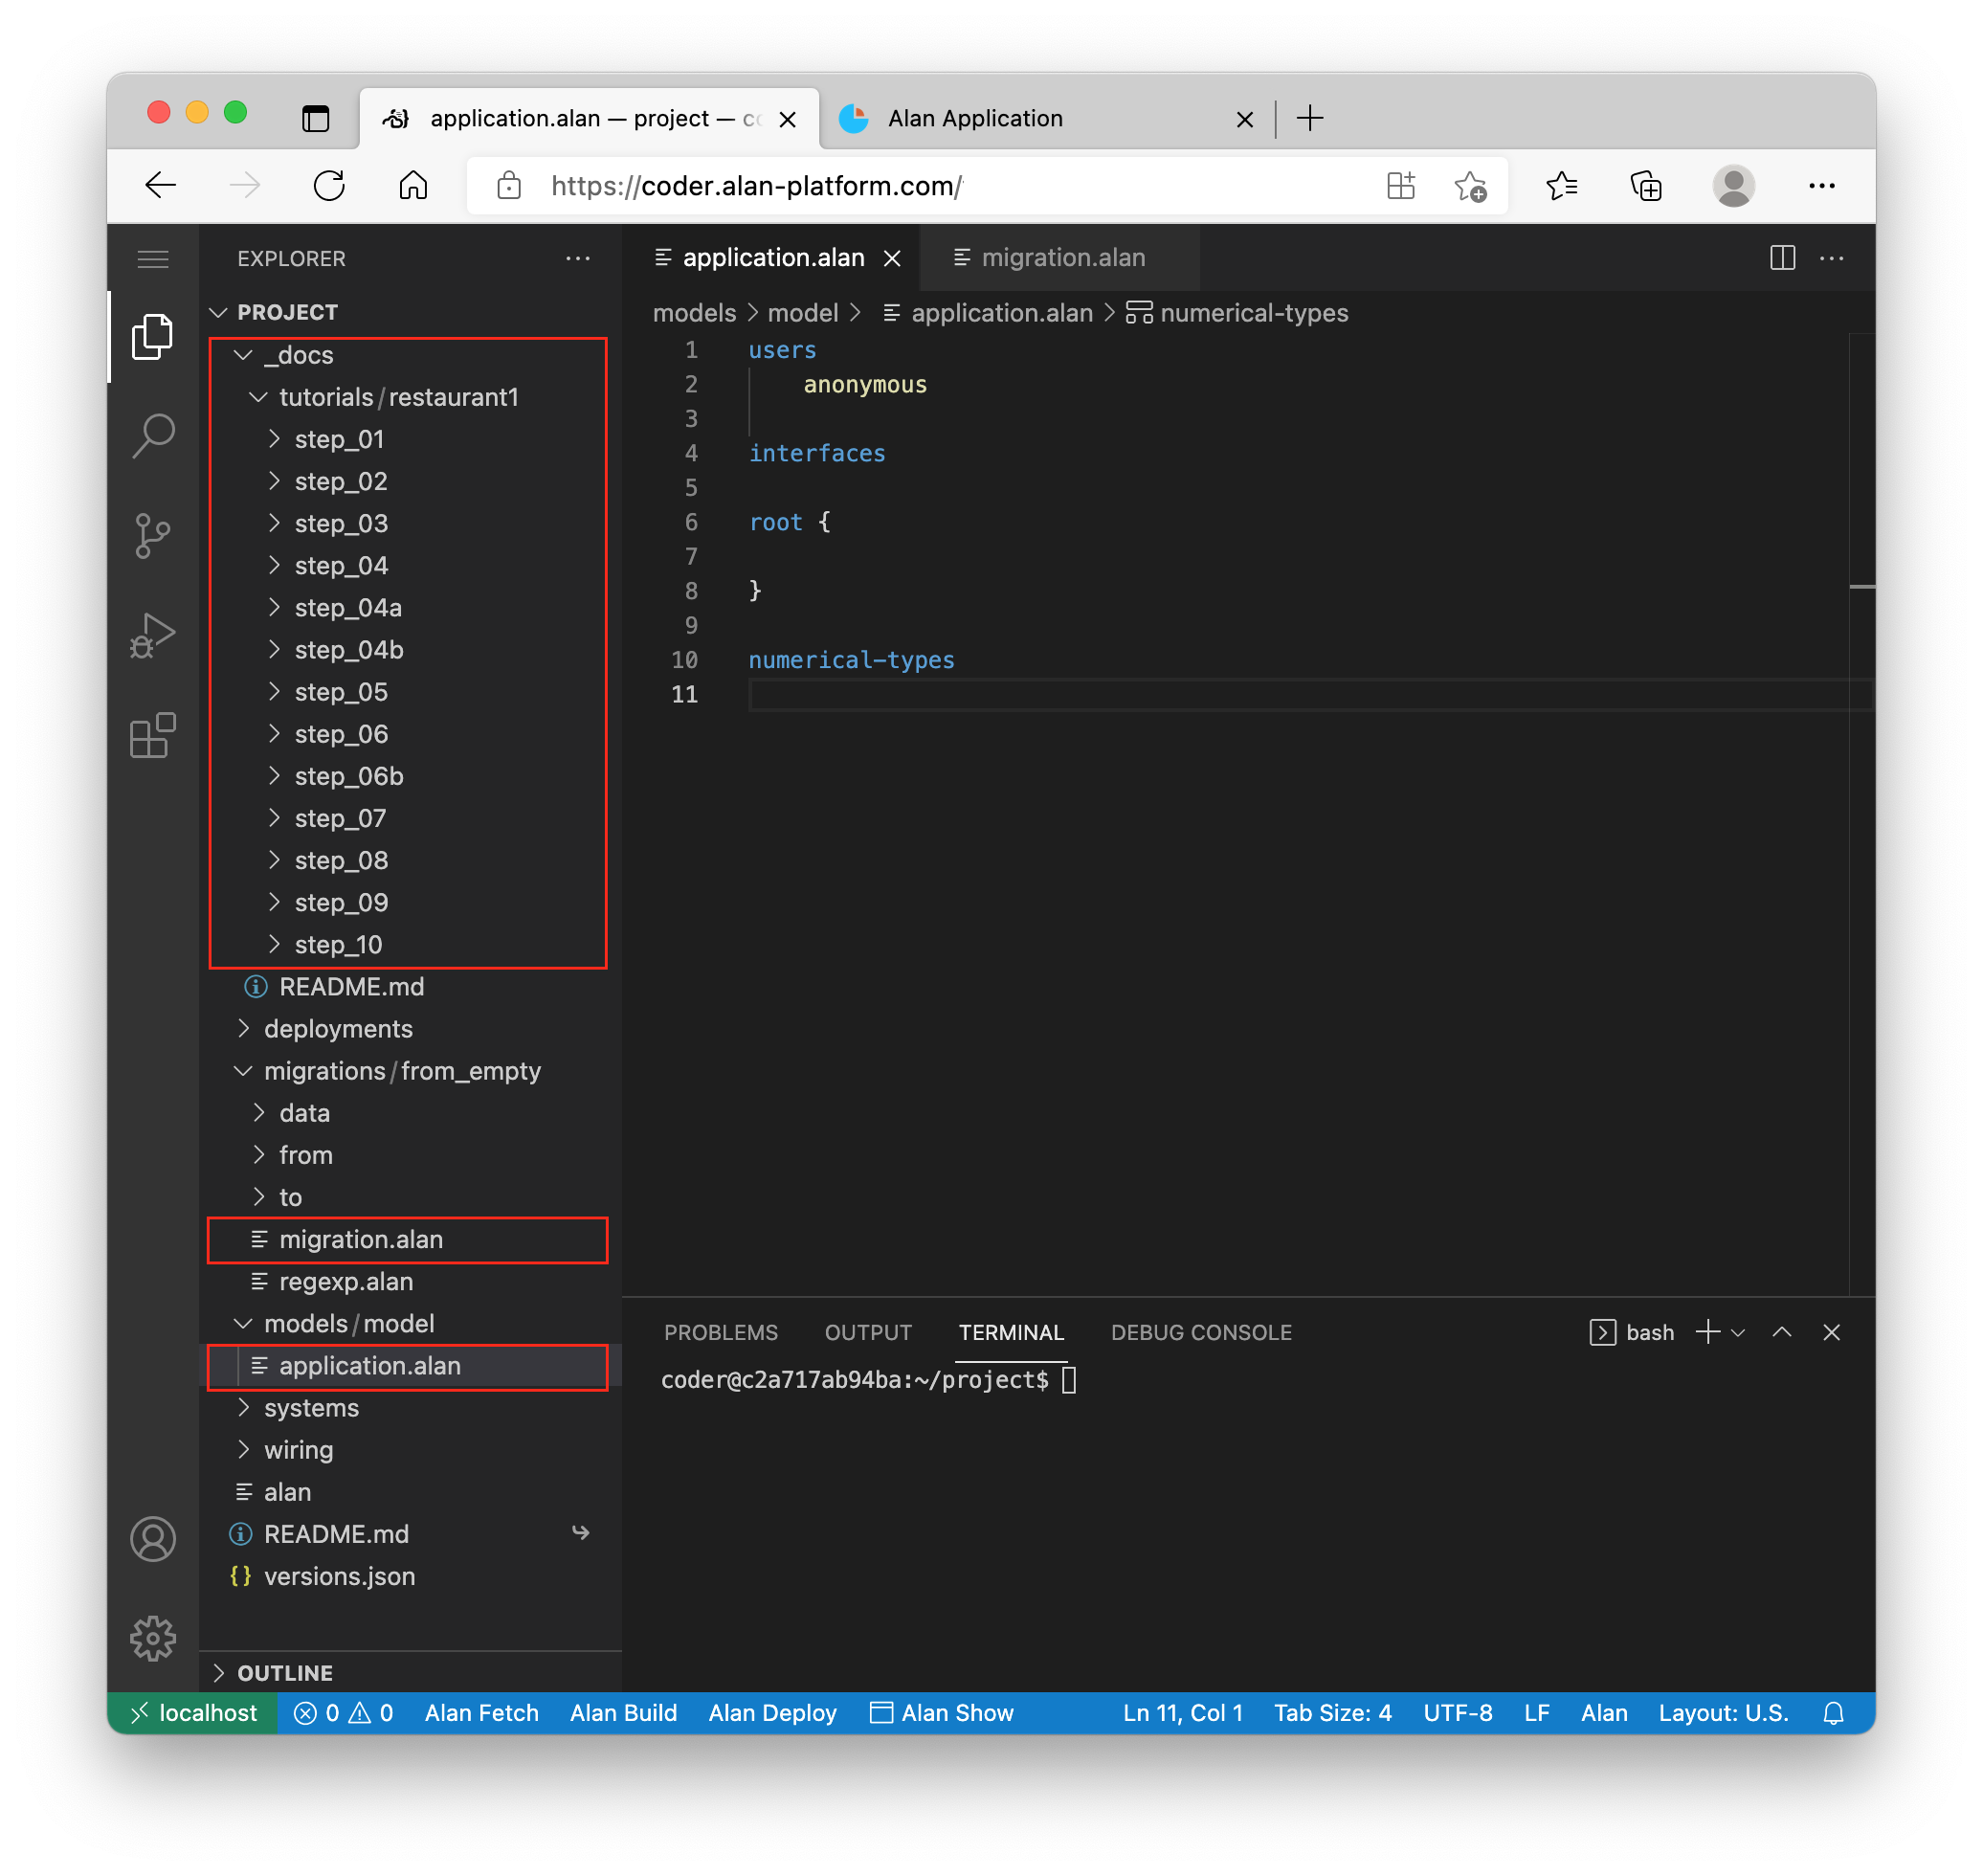
The application.alan file in folder models/model contains the model of your application.
The migration.alan file in folder migration/from_release (available after your first deployment) describes how your application data needs to be migrated from the current to a next version of your application.
In order to keep focus on the application language, migration files are available for each topic of the tutorial.
The location of the relevant files in the folders _docs/tutorials (available in your project) can be found at the end of each topic. Detailed information about migrations can be found in the migrations guide.
By copying and pasting the migration file, your application gets some nice example data for you to experiment with.
To make sure you don’t get stuck while working on the Application Language tutorial, the _tutorials folder contains a valid application.alan file for each topic as well.
If, at some point, you seem to miss files or folders in the explorer (area 1) that are referred to in the tutorial, click the refresh button. This button appears when you move your cursor into area 1 (while the online IDE is active):

Files are automatically saved when you:
- switch between files in area 2
- switch between areas
- click one of the
Alan-buttons
Save and other options are also available here:
Compile and deploy
Once you’ve written or updated a model and want to see the result, you need to do two things:
- Click on the button
Alan Build. This will build your model and check for any inconsistencies. Errors occur if your model is not correct. Solve any problems, until you can succesfully build your project. - Click on the button
Alan Deploy. This will send your project to the server which will publish (deploy) your application.
NOTE: we recommend that you also run
Alan Fetchfrom time to time (e.g. weekly). This ensures that you have the latest builds of the platform tools at the version specified in yourversions.jsonfile. Newer builds should never include breaking changes that break your project build.
Sometimes, you may want to upgrade to a new platform version or system type version.
For that, you need to modify the versions.json file.
For the latest official platform and system type versions, you can find a versions.json file on the docs page.
Make sure to run Alan Fetch to get the right tools after updating your versions.json file.
Your published Application
After deploying your work, you can find the latest published version of your application at the URL provided in the README.md file of your project.
More information about Visual Studio Code can be found here.
Next up
Now you are all set to get started with the application language tutorial, which can be found here. Good luck!